Summary
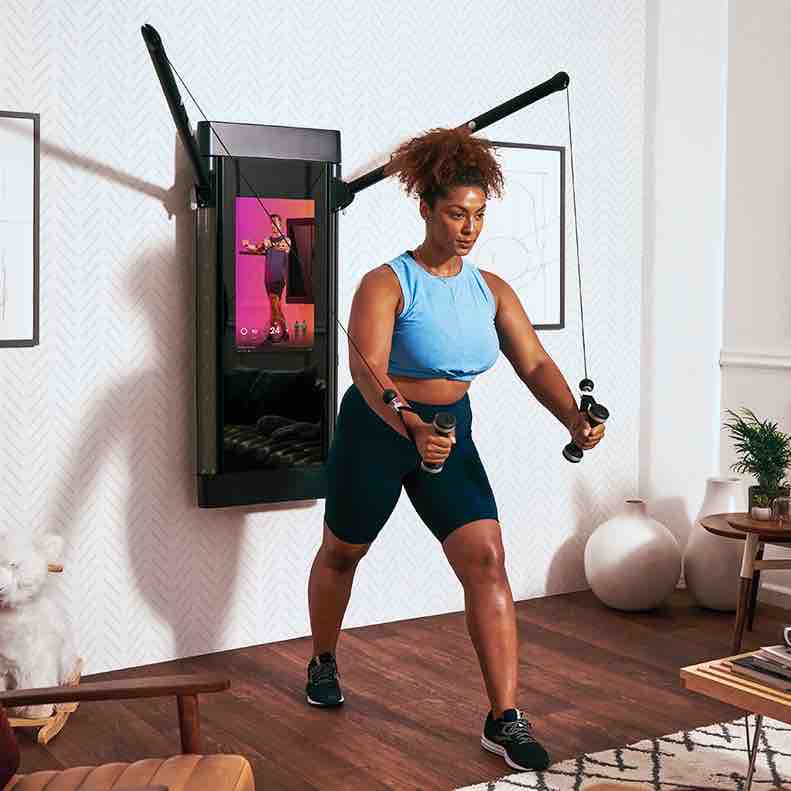
The customer needed a Tonal gym installed in their garage with a firm emphasis on a solid-wall mounting and a nearby power outlet. We confirmed the required clearances—about 1 m each side and full frontal range—and checked ceiling height for overhead pulls before any drilling. The job took place in Hamilton, New Zealand. Only one Offer was received and the Selected Offer of $200 was accepted. Pre-checks verified at least three vertical studs capable of supporting the roughly 60 kg unit. The wall bracket was mounted level with heavy-duty lag bolts, then the Tonal unit was lifted on and locked into place by two people to avoid risks. Final fastenings were torqued, and the unit was plugged in for Wi‑Fi setup and low-resistance arm/cable tests. The customer left a 5-star rating with the review "Great work." A reminder was given to re-check bolt tightness after the first few sessions.
Final Cost
200
Completed on
30 Jan 2026
Location
Hamilton
Completed by

Justin
Hamilton 3204, New Zealand
Customer Review
5.0
Great work
- Elizabeth
#29485
• Assembly Services
Tonal gym installation into our garage. Tonal Gym - Installation Steps Pre-checks Solid wall only: wood studs or concrete/brick (never drywall alone) Clear space: ~1 m each side, full range in front Ceiling height sufficient for overhead pulls Nearby standard power outlet (no extension cords) 1. Locate & Mark Studs Use stud finder; confirm at least 3 vertical studs Mark stud centres and planned mounting height Check for wiring/plumbing before drilling ⚠️ Studs must take the full load (~60 kg unit + dynamic forces). 2. Mount Wall Bracket Hold bracket level at specified height Drill pilot holes into studs Secure using heavy-duty lag bolts Torque firmly; re-check level ⚠️ Bracket must be dead level — misalignment affects arm travel. 3. Hang Tonal Unit 2+ people required Lift unit onto bracket and seat fully Engage locking mechanism per manual ⚠️ Do not lift solo; avoid pinched fingers. 4. Final Fastening Tighten all retaining bolts / safety fasteners Confirm zero movement or wobble 5. Power & Setup Plug directly into wall outlet Power on → Wi-Fi → calibration Run initial arm/cable movement tests at low resistance Key Caution Points ❌ No drywall-only installs ❌ No crooked or under-torqued bracket ❌ No damp areas or outdoor walls ✅ Re-check bolt tightness after first few sessions